这篇文章翻译自:I Turned my Dad’s 1950s Morse Key into a USB Keyboard
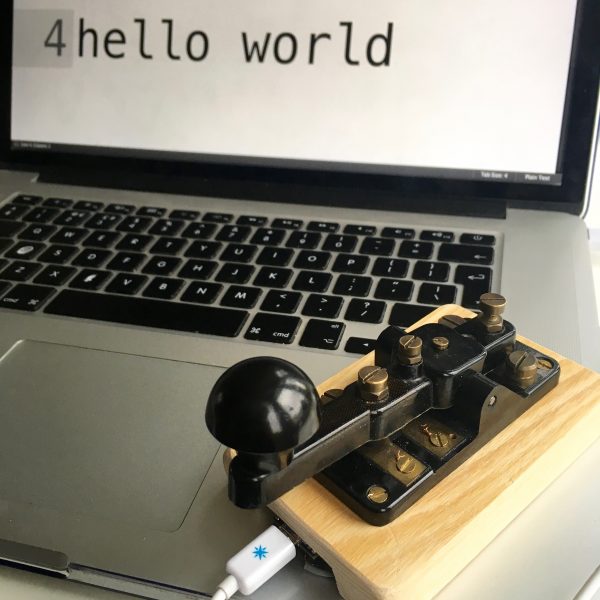
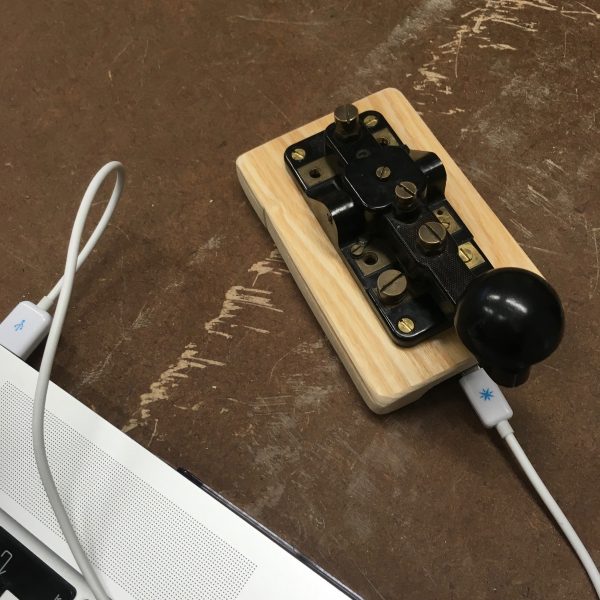
The finished Morse key sitting happily on my laptop. Full project details below.
最终完成的莫尔斯键盘与笔记本电脑的合影~整个项目的细节如下:
Background: I can just about remember growing up around beautifully designed analogue devices like rotary dial phones, typewriters, and record players. I’ve always like the idea of converting these largely defunct objects into digital devices, and my Dad’s old Morse key seemed like a simple project to get started on.
背景:打从记事以来,我就生活在设计精美的模拟设备的环境中,比如旋转式拨号电话,打字机和唱片机。我一直有把这些大部分现在不常用的东西转换成数字设备的想法,而这其中,老爸的旧莫尔斯电键看起来像是一个简单的项目。
Morse code is an internationally recognised way of representing letters of the alphabet (a-z) and numbers (0–9) as a series of dots and dashes. During WW1 and WW2, it became a handy way of sending encrypted messages across long distances and quite possibly sent carrier pigeon unemployment rates skyrocketing. A conventional Morse key acts like a switch, making and breaking a circuit connection to transmit these dots and dashes as short and long beeps over radio waves.
莫尔斯电码是一种将国际公认的字母表(a-z)和数字(0-9)字母表示为一系列点和破折号的方式。在一战和二战期间,它变成了一个十分方便发送加密的信息的方式。传统的莫尔斯电键就像一个开关,联通和断开电路连接就能通过无线电波传播这些点和点的音长。
The idea was that the Morse key would behave like a keyboard when plugged into any laptop or PC’s USB 3.0 port; the user could key in messages in Morse code, and the corresponding English alphanumeric characters would appear on screen. Code for the project is here (https://github.com/nomblr/morse/) and full details are below.
所以我就想到当插入任何笔记本电脑或 PC 的 USB 3.0 端口时,莫尔斯键的行为就像一个键盘; 用户可以用莫尔斯电码键入信息,并在屏幕上出现相应的英文字母数字字符。这个项目的代码我 po 到了 Github 上,有心人都可以去尝试一下。
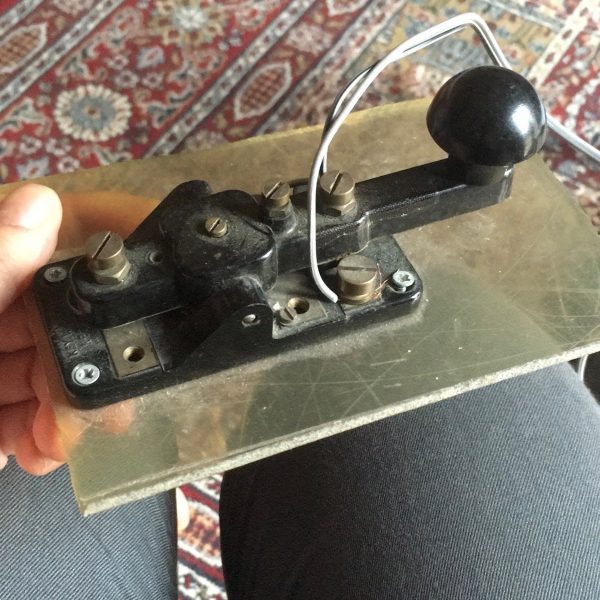
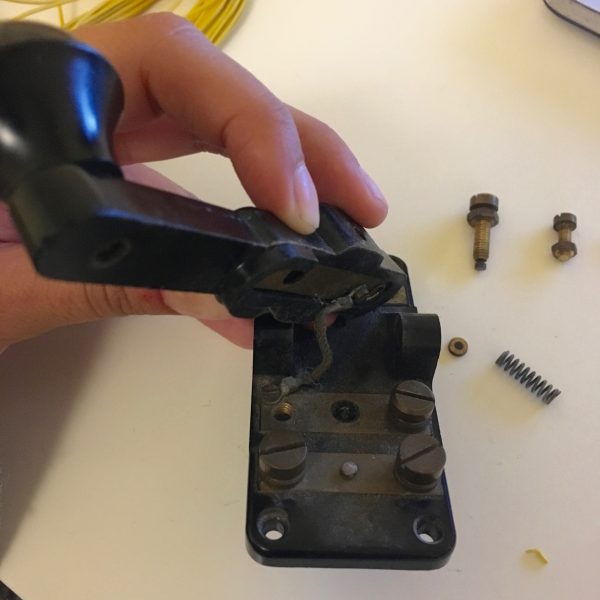
The Morse key was incredibly dusty and attached to a nasty plastic base, so I took the whole thing apart, scrapped the base, and gave the Morse key a good clean.
莫尔斯电键积了很多灰尘,而且装在一个很丑的塑料基地上,因此我准备把所有东西都拆开,把莫尔斯电键清洁干净。
Some wet wipes did the job nicely, and I also sanded down the two metal contacts (the ‘switch’) a tiny bit to improve the electrical connection and remove some of the accumulated gunk.
使用湿纸巾,这项工作完成的很出色。并且我还仔细打磨了两个金属触点(“ 开关 ”),改善电路连接的情况并去除一些沉积的脏东西。
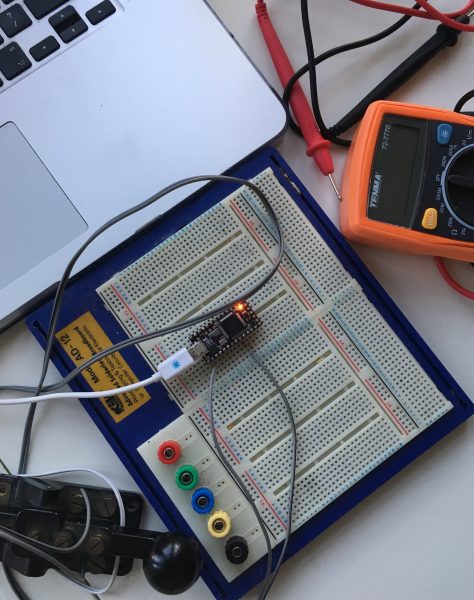
Converting the (VERY analogue) Morse key into a digital device was the next step. To do this I used a tiny, cheap micro-controller aptly named a Teensy 3.2 (https://www.pjrc.com/teensy/). The Teensy has 28 pins, each of which can be configured as an input or an output; because I wanted to the Teensy to receive signals from the Morse key, I configured Pin 7 of the Teensy as an input and wired it to one connection on Morse key. (This was an arbitrary choice, any of the I/O pins would have worked just fine.) I then wired the ground pin of the Teensy to the other connection on the Morse key.
接下来就是将电键转换为数字设备。为了实现这一点,我使用一个小巧,便宜的微型控制器——Teensy 3.2。
This was my first foray into working with electronics or microcomputers so feel free to imagine a progress montage punctuated by thoughtful moustache stroking scenes, eighties music and gratuitous but entirely pointless shots of the terminal.
这是我第一次尝试做这种事,你可以想象当我点亮并且成功运行的时候,我的内心是多么喜悦。
I wrote some test code for the Teensy to make sure it was working with the Morse key as expected; I expected to see ‘KEY PRESS’ printed out once every time I pressed the Morse key down once. This is where I hit my first problem. Mechanical switches don’t make perfect physical or electrical contact when they’re pressed; they’ll typically oscillate between being ‘open’ and ‘closed’ a few times over ~1ms before settling down to a stable ‘closed’ state. Microcomputers are fast enough to detect these oscillations so when I pressed my Morse key down just once, the Teensy detected several rapid key presses as shown in the photo. This effect is called ‘bounce’ and luckily there’s a built-in Teensy library (https://playground.arduino.cc/Code/Bounce) that compensates for it.
为了确保 Teensy 正确按照预期“ 翻译 ”莫尔斯密码,我为 Teensy 写了一些测试代码。因此每当按下莫尔斯电键一次,我就会看到电脑端有字符输出。然而很快我就遇到了一个问题:机械开关按下时不能形成完美的物理接触 (通常在“ 通路 ”和“ 断路 ”之间摆动几次,持续约 1ms,然后稳定到“ 通路 ”状态)。计算机能够快速检测到这些振荡,所以当我按下我的莫尔斯电键时,Teensy 检测到照片中显示的几个快速按键。这种效应称为“ 反弹 ”,幸好内置的 Teensy 库能够补偿它。
Once the Teensy could successfully detect single Morse key presses, I needed a way to differentiate the pauses between dots, dashes, letters, and words. Implementing a method for the Teensy to figure out relative timings for individual users would’ve involved a fair amount of faff, so I used absolute timings based on my own keying speeds. A threshold of 150ms was used to differentiate dots from dashes, and pauses between letters and words were set to 500ms and 3000ms. Of course, this configuration will break down with a faster or slower Morse operator, but as my old engineering tutor used to say, “good engineers are smart but lazy,” which for the purposes of this project I will choose to interpret as “good engineers are lazy”.
为了 Teensy 能够成功检测到每次点击莫尔斯电键的不同,来区分点、破折号、字母和单词之间的停顿。我在绝对时间的基础上结合自己的键控速度。用 150ms 的阈值来区分短划线,并且字母和单词之间的时间间隔被设置为 500ms 和 3000ms。当然,每个人的习惯都不一样,这个就要自己把握了。
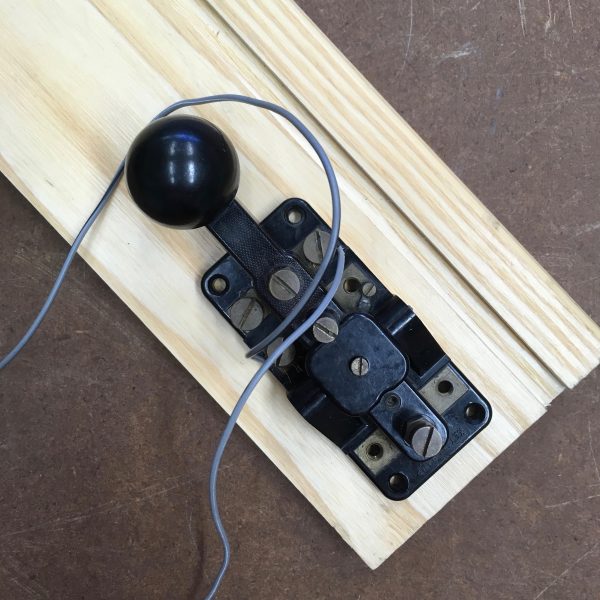
With the Teensy fully programmed, I was ready to build a wooden base to hide the electronics underneath the Morse key, with holes to feed through the two wires connecting the Morse key to the Teensy. I’d like to say I chose wood for aesthetic reasons, but in reality all my attempts at 3D printing a base failed so abysmally that I decided to try my luck with a plank I found lying around at my local Hackspace, of approximate width 130mm and depth 20mm.
Teensy 编程完后,我准备制作一个隐藏莫尔斯电键下方的电子设备的木质底座,并且底座上有两个孔,用于连接 Teensy 到莫尔斯电键的电线。为啥选木材而不是 3D 打印呢?其实不是美观不美观的问题,而是因为用 3D 打印出来的底座都适配失败了。
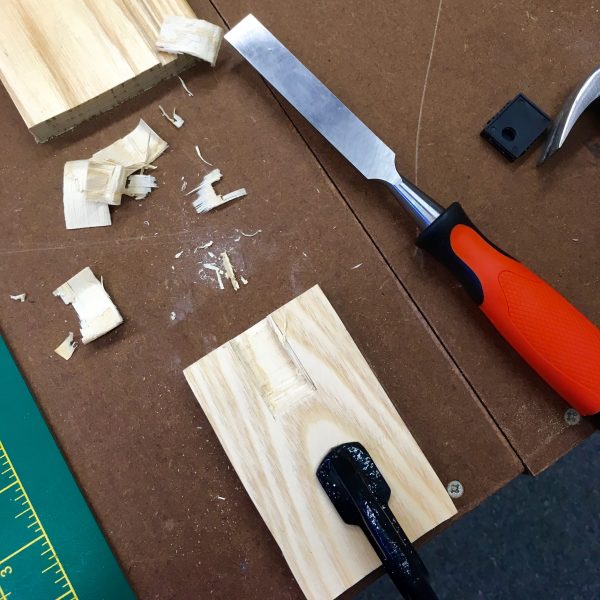
I sawed the plank down to 110x90mm so the Morse key would fit nicely on top, and chiselled out an indentation of approximate dimensions 50x40x10mm on the underside, so fit the Teensy and wiring.
我把木板锯成 110x90mm,这样莫尔斯电键可以很恰当地放在上面。在下方我凿出了一个尺寸约为 50x40x10mm 的凹痕,用于放置微控制器 Teensy 和布线。
I sanded the whole thing down and connected it to my laptop. You can see it in action here: https://www.youtube.com/watch?v=qh_apYcr4xI
最后我打磨了一下新的键盘,并将其连接到我的笔记本电脑上。
